How To Make Arduino Line Follower Robot Using L298N Motor Driver
In addition to reading this article, you can also view other useful information. We offer more here: View more
JLCPCB Prototype for $2(Any Color): https://jlcpcb.com
Hello Guys, In this tutorial I am going to show you how to make Arduino Line Follower car using L298N Motor driver, So let’s get started 🙂
Subscribe It’s Free https://bit.ly/2WlyA8Y
Parts List :
(Banggood.com)
1) Arduino Nano https://bit.ly/2RdpIo4
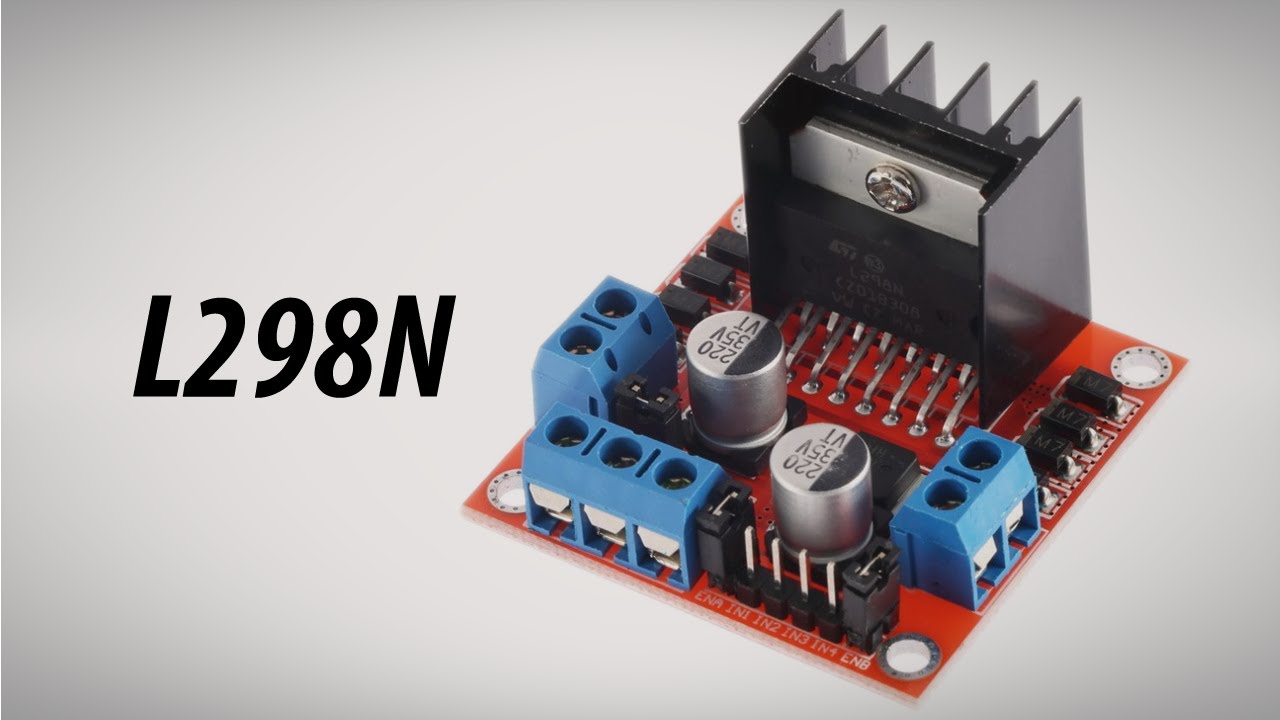
2) L298N Motor Driver https://bit.ly/2LTqEMh
3) IR Sensor http://bit.ly/2k70nNi
4) Wheels https://bit.ly/2XIaDOQ
5) TT Gear Motor https://bit.ly/2XZFLZv
6) 18650 Liion Battery (Local Store, Old powerbank or laptop battery)
7) Battery Holder https://bit.ly/2sulLwu
8) Male And Female Jumper http://bit.ly/2k8pPC3
10) 5mm Acrylic Sheet(14x9cm) (Local Store)
[Flyrobo.in] (For India)
1) Arduino Nano https://bit.ly/2kzPi7S
2) L298N Motor Driver https://bit.ly/2ksMcSU
3) IR Sensor https://bit.ly/2mv8Uuo
4) Wheels https://bit.ly/2kxPeFF
5) TT Gear Motor https://bit.ly/2m4fMid
6) 18650 Liion Battery (Local Store, Old powerbank or laptop battery)
7) Battery Holder https://bit.ly/2sulLwu
8) Male And Female Jumper https://bit.ly/2mu0aVo
10) 5mm Acrylic Sheet(14x9cm) (Local Store)
(Amazon.in)
1) Arduino Nano https://amzn.to/35c5fDv
2) L298N Motor Driver https://amzn.to/30WoAW2
3) TT Gear Motor and Wheels Full Set https://amzn.to/2IuY6o6
4) Rubber Wheels(4x) https://amzn.to/2Iv1krI
5) TT Gear Motor(4x) https://amzn.to/2oeovjm
6) IR Sensor(2x) https://amzn.to/31YTmPw
7) Ultrasonic Sensor https://amzn.to/35dFoes
8) 18650 Liion Battery(2x)
9) Battery Holder https://amzn.to/2Iv1krI
9) 5mm Acrylic Sheet (Local Store)
Gerber File https://bit.ly/2kCkS4P
Circuit Diagram https://bit.ly/2kBOQ8S
Code http://bit.ly/2kDXXpA
More Arduino Car Related Projects
1) Arduino Voice Controlled Car https://bit.ly/2WUdsuR
2) Arduino Bluetooth Controlled Car https://bit.ly/2WpYPuX
3) Arduino Line Follower Car https://bit.ly/2ZimqPV
4) NodeMCU WIFI Controlled Car https://bit.ly/2XA941d
Thanks For Watching
✅LIKE ✅SHARE ✅ COMMENTS✅ SUBSCRIBE
Here my social sites:
Instagram: https://www.instagram.com/diy.builder/
Facebook: https://www.facebook.com/surajit.majumder.165
Instructables: https://www.instructables.com/member/Surajit%20Majumdar/
twitter:https://twitter.com/DIYBuilder1
? Background Music
Track: Perspective — IVAAVI [Audio Library Release]Music provided by Audio Library Plus
Watch: https://youtu.be/MTNPhR1xlmc
Free Download / Stream: https://alplus.io/Perspective
Roads 2 (feat. LiQWYD) by Le Gang https://soundcloud.com/thisislegang
Creative Commons — Attribution 3.0 Unported — CC BY 3.0
Free Download / Stream: http://bit.ly/2DcLIpk
Music promoted by Audio Library https://youtu.be/dq0SugAIpkc
ArduinoProjects ArduinoRobot LineFollowerCar

Como usar el driver controlador de motores L298N
En este tutorial aprenderemos a utilizar el Modulo L298N o también conocido como doble puente H driver L298N control de motores DC (corriente continua). Veremos como funciona y para que sirven cada uno de sus pines de tal forma que nos permita usarlo con nuestro micro controlador favorito. Este modulo puede usarse con cualquier micro controlador, su sencillo uso y bajo coste lo hacen perfecto para proyectos de robótica y vehículos a radio control
Tutoriales de referencia:
Control PWM con Arduino:
https://www.youtube.com/watch?v=C5eX7nGjDv8\u0026t=1s\u0026list=PLZLZ7vlWlts0l0UPJkXeqCaxYbz2NXw90\u0026index=14
Como alimentar tus proyectos de Arduino:
https://www.youtube.com/watch?v=tAU8alULTMg\u0026t=241s\u0026list=PLZLZ7vlWlts0l0UPJkXeqCaxYbz2NXw90\u0026index=13
Arduino desde cero en Español – Capítulo 19 – L298N Controlador de Motores DC (y velocidad PWM)
Pondremos foco en el Módulo controlador de Motor L298N el cual permite comandar de forma independiente dos motores de continua (DC) en variedad de tensiones y también motores paso a paso (PAP) con Arduino.
En esta capítulo se detalla las caracteristicas del módulo y lo ponemos en práctica con un motor de continua con caja de reducción y rueda para controlar el sentido de giro y velocidad.
Código fuente de los programas vistos en:
https://github.com/bitwiseAr/CursoArduinodesdecero/
ArduinoMotor
ArduinoL298N
ArduinoMotorDC
Arduino L298N motor control
Arduino L298N DC motor
Arduino L298N tutorial
Arduino motor DC
Arduino motor PWM
Arduino puente H
Marcas de tiempo:
0:00 Bienvenida e introducción
3:03 Detalle de funciones
8:43 Motor DC
11:04 Circuito de conexión
14:34 Primer programa
18:24 Segundo programa
23:53 Despedida

Arduino | Hướng dẫn chi tiết cách sử dụng L298N | Phần 1
Arduino L298N
Hôm nay mình sẽ hướng dẫn mọi người cách sử dụng L298N. Video gồm 2 phần nhé, mình sẽ hướng dẫn rất chi tiết cách sử dụng.
Phần 1: https://youtu.be/e9mCksnBEU8
Phần 2: https://youtu.be/0E5Ao9Ql_Q0
CODE: https://drive.google.com/drive/folders/12aZSOt1QhFcoVMBBbBWteX5qRYqmLNDV?usp=sharing
Chúc các bạn thành công!
HÃY ẤN SUBSCRIBE NGAY ĐỂ ỦNG HỘ KÊNH BỌN MÌNH NHÉ.
THÔNG TIN LIÊN HỆ
♡ GREEN TECHNOLOGY ♡
☞Fanpage: https://bit.ly/3g8Cwqp
☞Nhóm Support \u0026 Share: https://bit.ly/2W2JUfB
☞Nhóm Mua \u0026 Bán: https://bit.ly/3CQNkDf
►YOUTUBE CHANNEL: https://bit.ly/3CTtPKl
☞Email: [email protected]
♡MỌI COMMENT CỦA CÁC BẠN LÀ MỘT GÓP Ý VÔ CÙNG TO LỚN CHO KÊNH!

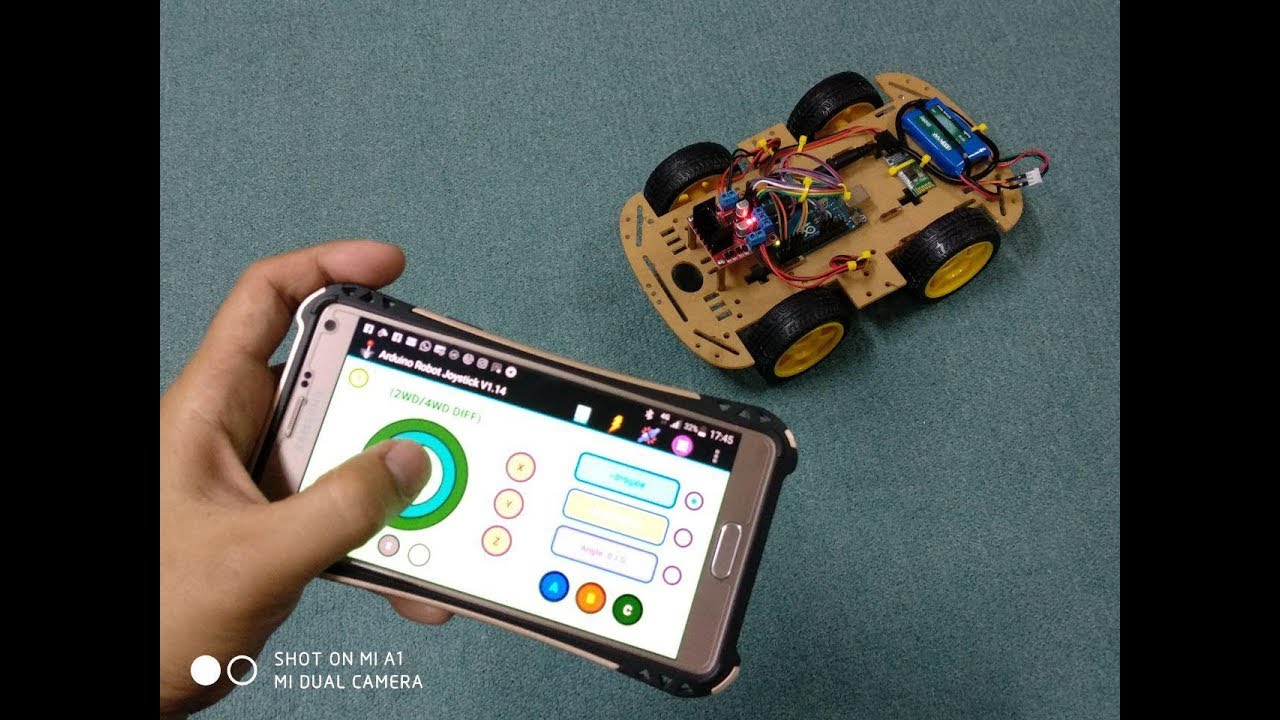
L298N: Building and Controlling 4WD Arduino Robot
This video was created after lots of requests regarding to this video: https://youtu.be/udz7qlHT400, as many viewers asked for the tutorial using the low cost L298N motor driver module to control the 4WD robot.
For the circuit diagram click here:
https://goo.gl/m7E8RR (Updated on 31/10/2018: look out for \”Please connect the GND pin of the L298N HBridge to GND pin of the Arduino. Otherwise, your circuit may not work.\” message in the circuit diagram)
Arduino code (updated on 10 June 2019 changing the pin assignment for Button A, B and C):
https://goo.gl/B5DHym
(Updated on 31 October 2018 Thanks to alterntech for pointing out my mistakes): To add buzzer and LEDs to the robot, use this modified code: https://goo.gl/AQtt3d. Connect your buzzer to pin 2 of the Arduino, an LED to pin 5 and another LED to pin 6. Press button A to activate the buzzer and press it again to deactivate. Similarly press button B and C to turn on the LEDs and press them again to turn off the LEDs (toggle action).
07 June 2018: https://goo.gl/AQtt3d was updated by changing pin 5 to pin 7 for the LED as pin 5 was already used by the motor driver.
05 December 2018: Add servo motors to your robot, 1 for kicker and 2 for gripper (left and right claw) with this code: https://goo.gl/vXUPDg.
Joystick app on Google Play Full version:
https://goo.gl/2oMk0S
Joystick app Free version:
https://goo.gl/CWynPX
Thanks!
Song: Ayu OIAM \”Inspirasi Abadi\”
In addition to viewing this topic, you can also access many other great comments here: View more waysChords